
Most learners don’t hate driving. They hate the moment an examiner says, “Please pull up on the right and reverse back,” or they spot a tight space and know parallel parking is coming. That’s why a proper parallel parking lesson step by step matters - not as a party trick, but as a calm, repeatable routine you can trust when nerves kick in.
The good news is that parallel parking is far less about luck than people think. It is mostly about slow control, clear observations and using the same sequence every time. Once you understand what the car is doing and why, the manoeuvre stops feeling like guesswork and starts feeling manageable.
A parallel parking lesson step by step starts before you move
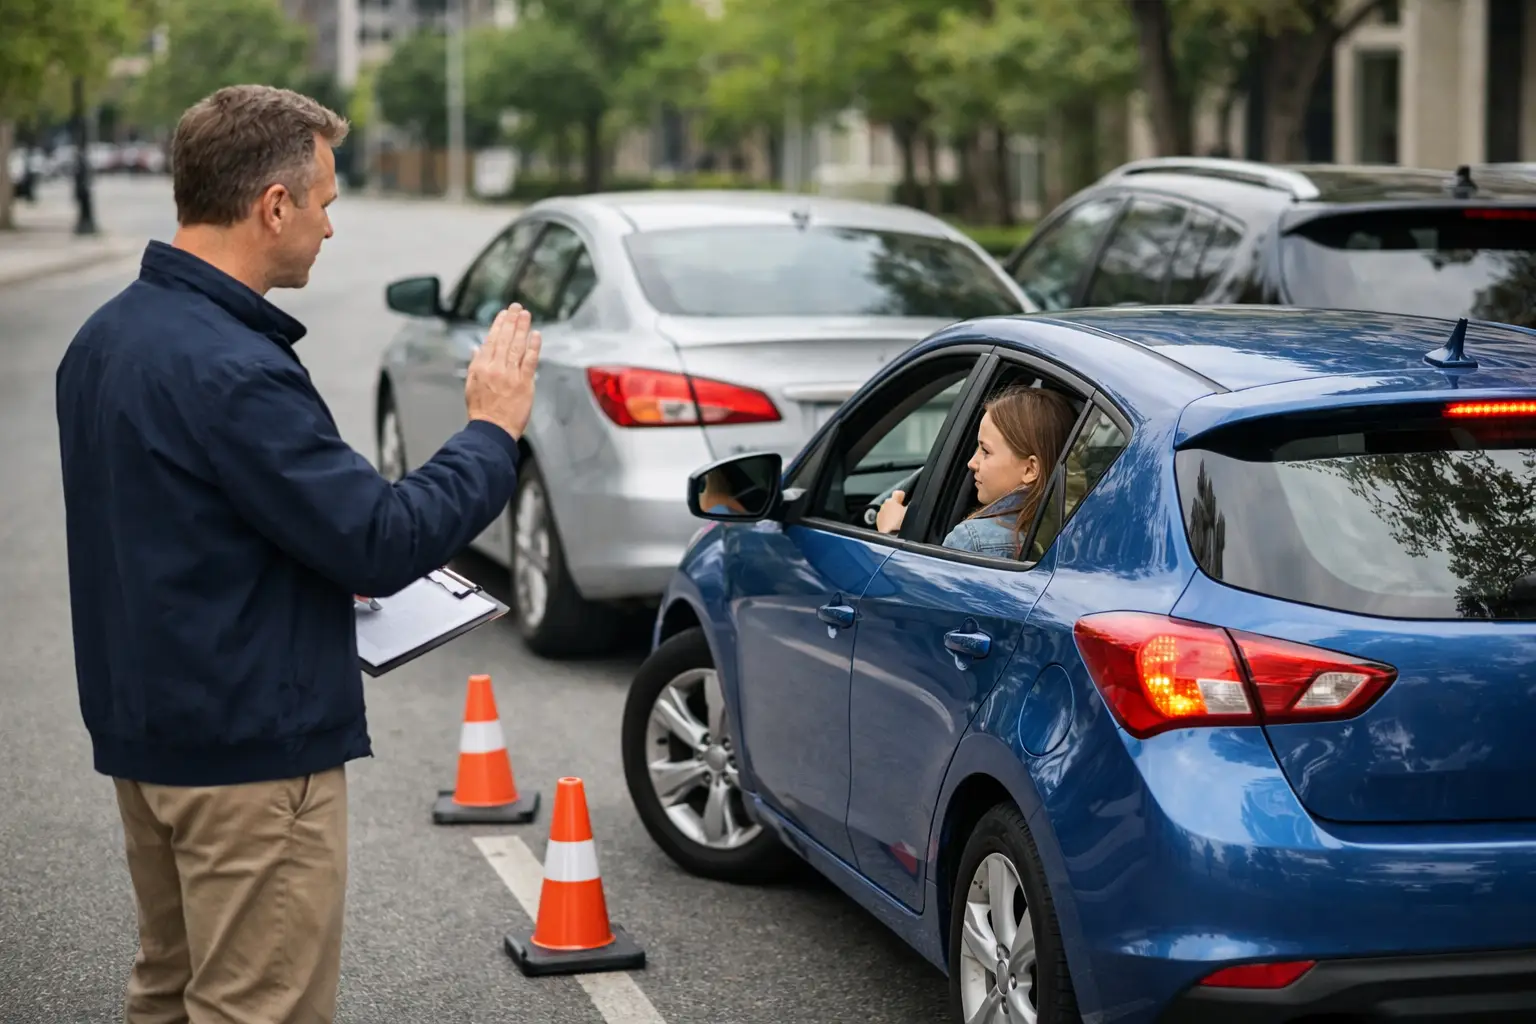
The biggest mistake learners make is thinking the manoeuvre begins when reverse gear goes in. It starts earlier, with a safe set-up and a sensible parking space. If you are learning, choose a quiet road with enough room to practise without pressure from traffic behind you. A good instructor will usually begin in a wider space so you can learn the shape of the manoeuvre before dealing with tighter gaps.
Pull up alongside the parked car you are using as your reference vehicle. Leave roughly a door’s width between your car and theirs. Too close and you risk clipping it. Too far away and you will struggle to swing neatly into the space.
Stop so your car is parallel and reasonably level with the parked car. Different instructors use slightly different reference points depending on the vehicle, your height and where you sit. That is normal. There is no single magic marker that works for every learner in every car, which is why personalised tuition matters.
The first checks matter more than the steering
Before reversing, secure the car and take proper all-round observations. Check your mirrors, look over both shoulders and be aware of pedestrians, cyclists and any car approaching from behind. If anything is moving into your space, wait. A clean manoeuvre done safely is always better than a rushed one.
This is one of the trade-offs learners need to understand. You can focus so hard on getting the wheel position right that observations become an afterthought. On the driving test, and in real life, that is the wrong priority. Parking slightly untidily but safely is fixable. Missing a pedestrian is not.
Select reverse gear, prepare the car and move very slowly. If your speed creeps up, your steering corrections become rushed and the whole thing feels harder than it needs to be. Slow is not a sign of weakness here. Slow is control.
Step by step through the manoeuvre
Step 1: Start reversing straight
Begin by moving backwards in a straight line. Keep checking all around, especially through the rear window and mirrors. You are creating the first part of the angle, and there is no prize for doing it quickly.
At this stage, many learners want to turn too early because they are worried about hitting the kerb later. Ironically, turning too early often makes that more likely. Let the car roll back calmly to your first reference point.
Step 2: One full turn to bring the car in
When you reach the agreed reference point - this may be when the back of the parked car appears in a certain part of your side window, for example - steer one full turn to the left if you are parking on the left-hand side of the road. Keep the car moving slowly.
Now the rear of your car begins to move into the space. Continue observing. Look mainly where the car is going, but keep scanning around you. If another road user appears, stop if needed and let them pass.
Step 3: Watch the angle
As the car moves back, you want to build a sensible angle towards the kerb. Not too shallow, not too sharp. This is where people often tense up because they think there is a perfect angle to find. In reality, it depends on the size of the gap, the car you are driving and how far from the parked car you started.
A useful coaching point is this: if the back of the car seems to be heading in nicely but the front still looks clear, you are usually in a workable position. If the rear is not coming in enough, you may need a bit more steering. If it looks as though the car is diving sharply towards the kerb, be ready to unwind.
Step 4: Straighten at the right moment
Once the car reaches the next reference point - often when your car is around a 45-degree angle to the kerb, or when the parked car appears in a certain mirror position - straighten the wheel by turning one full turn back. This lets the car continue back into the space without tightening the angle too much.
This is the point where the manoeuvre starts to make sense for many learners. The car is no longer just swinging in. It is settling into the parking bay shape created by the vehicles in front and behind.
Step 5: Turn the opposite way to tuck the front in
When the front of your car is clear of the parked vehicle ahead and you are close enough to the kerb, steer fully to the right to bring the front of the car in. Keep reversing slowly and keep checking around the car.
Your left door mirror can help you judge distance from the kerb, but do not stare at it. It is one tool, not the whole job. You still need full observations.
Step 6: Finish straight and secure
As the car comes parallel with the kerb, straighten the wheel again. Stop the car in a safe, legal position, ideally reasonably close to the kerb and without touching it. Apply the handbrake and select neutral if you are in a manual.
Do not panic if the car is not absolutely perfect on the first attempt. On test, a small adjustment is allowed if it is done safely. In normal driving, making a calm correction is part of being a sensible driver, not proof that you have failed.
What usually goes wrong in a parallel parking lesson step by step
Most problems come from one of four things: starting too far away, reversing too quickly, turning too early or forgetting observations. The steering sequence matters, but those basics matter more.
If you end up too far from the kerb, you probably started too far from the parked car or did not get enough angle early on. If you get too close to the kerb, you may have turned too much or held the turn for too long. If the front of the car sticks out, the final steering phase likely came too late.
This is why cookie-cutter advice can be frustrating. Two learners can make the same-looking mistake for completely different reasons. A patient instructor should spot the pattern and adjust the lesson to you, rather than repeating “turn there” as if that solves everything.
How to stay calm when nerves show up
Parallel parking has a reputation, and reputations create tension. The second you think, “Here comes the hard bit,” your hands tighten and your observations shrink. A better approach is to break the manoeuvre into jobs: set up, check all around, reverse slowly, build the angle, straighten, tuck in, finish.
Talk yourself through it if that helps. Plenty of good drivers do. Quiet self-coaching is far more useful than trying to impress anyone with speed.
It also helps to accept that real roads are messy. Sometimes the space is generous and the manoeuvre feels easy. Sometimes the road slopes, a car appears behind you, or the gap is tighter than you would choose in your own time. Good driving is not about pretending every situation is identical. It is about applying the same calm process and adapting where needed.
Why practice should feel tailored, not rushed
A learner in an automatic may find the slow-speed control easier to manage at first because there is less to think about with clutch control. A manual learner may need a bit more time to balance clutch, brake and steering together. Neither is better or worse - just different.
The same goes for confidence levels. Some learners want repeated practice on one quiet road until the routine clicks. Others improve faster by trying slightly different spaces once the basics are there. At D4Driving School of Motoring, that kind of tailored coaching is exactly what helps nervous learners turn a stressful manoeuvre into a reliable one.
If you are practising around Peterborough or getting test-ready in nearby areas, remember that examiners are not looking for theatrical perfection. They want control, safety, awareness and reasonable accuracy. That is a much more achievable target than most learners imagine.
Parallel parking becomes easier the moment you stop treating it like a mystery and start treating it like a routine. Learn the sequence, keep your observations sharp, and give yourself permission to improve one attempt at a time.